
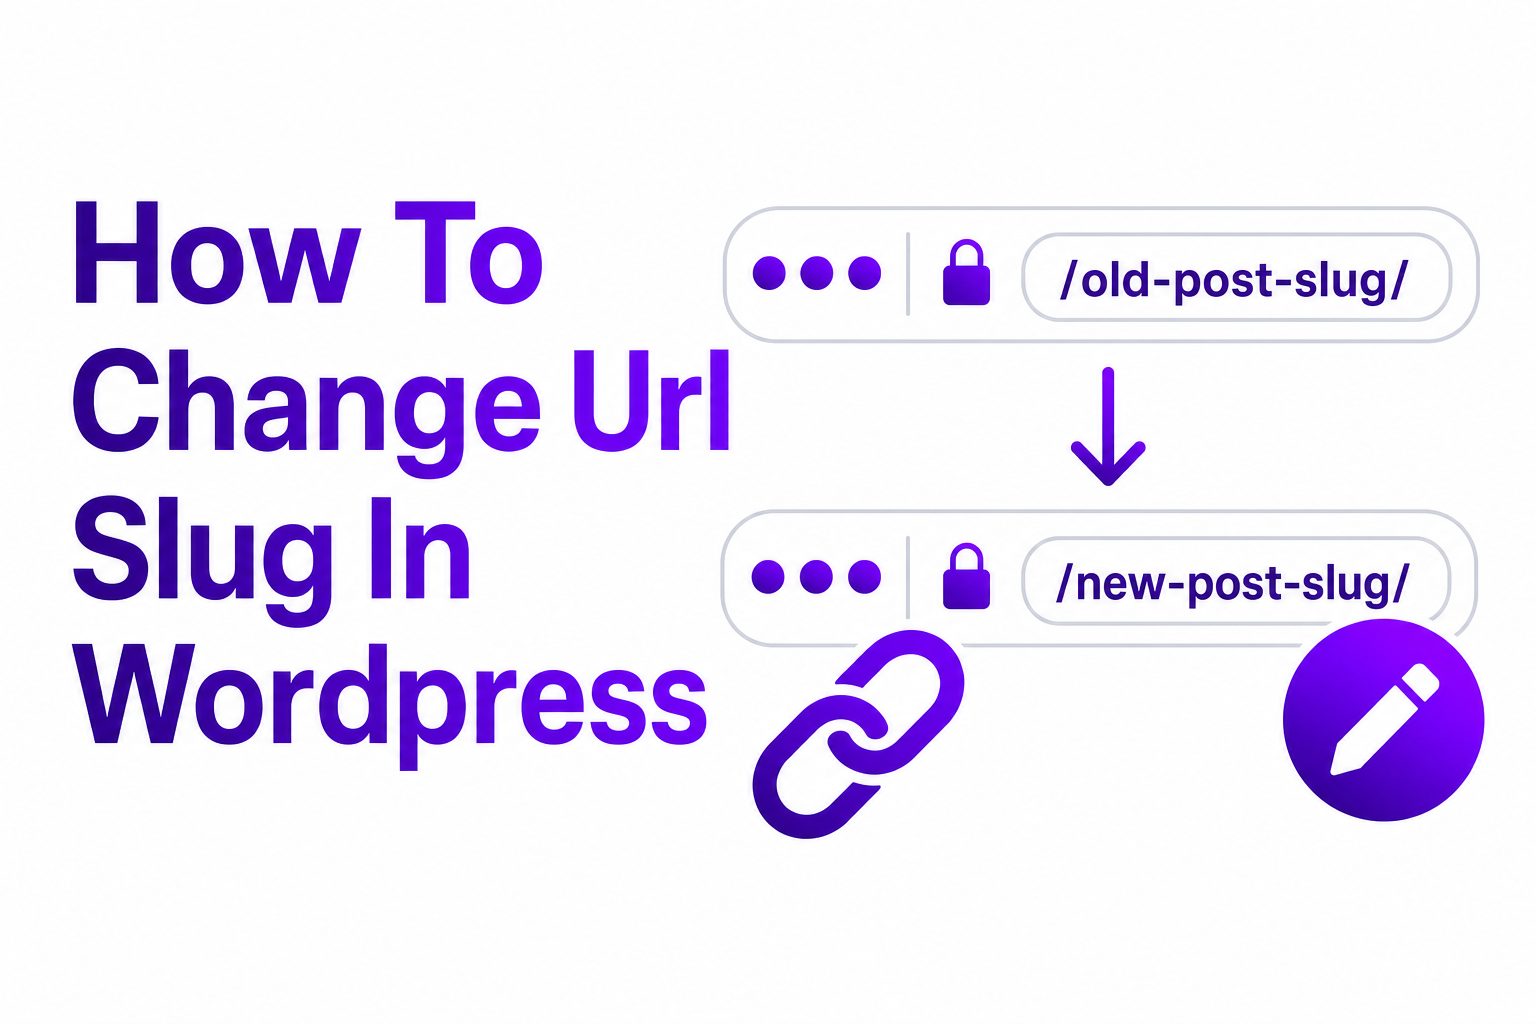
A URL slug is the editable part of a WordPress page or post URL. It usually appears after your domain name and helps readers and search engines identify the topic before opening the page.
Changing a slug can improve clarity, remove unnecessary words, and make older content easier to rank. A clean slug also looks better when shared in emails, social media posts, or search results.
The process is simple inside WordPress, but the SEO impact needs care. If an old URL already receives traffic, changing it without a redirect can create broken links and ranking loss.
Why URL Slugs Matter in WordPress
A strong slug gives context without making the URL long or confusing. For example, a short slug with the main topic is easier to remember than one filled with dates, numbers, or random words.
Search engines use many signals to evaluate a page, and the slug is one small but useful signal. It can support relevance when it matches the page topic naturally.
Readers also judge links before clicking them. A clear URL feels safer and more professional, especially for blogs, tutorials, service pages, and product-related content.
A good WordPress slug usually has these qualities:
- Short and readable
- Related to the page topic
- Written in lowercase
- Uses hyphens between words
- Avoids dates unless needed
- Avoids symbols and random numbers
- Stays stable after publishing
WordPress Slug Basics
In WordPress, slugs are created automatically from your title when you save a draft. If your title is long, WordPress may create a long slug that is not ideal for SEO or usability.
You can edit slugs for posts, pages, categories, tags, and some custom post types. The editing location depends on the editor, theme, and plugins used on your website.
Slug changes affect the final URL. If the post is already published, the old URL may stop working unless WordPress or a plugin creates a proper redirect.
Before You Change a WordPress Slug
Before editing any published URL, check whether the page already gets visits, backlinks, or search impressions. A page with existing SEO value needs more care than a new draft.
You should also confirm the new slug is better than the old one. Changing URLs too often creates confusion, weakens internal linking, and makes analytics harder to track over time.
For a new post draft, editing the slug is low risk. For published content, the safer workflow includes choosing the new slug, updating the page, adding a redirect, and testing the result.
How to Change URL Slug in WordPress Editor
Open your WordPress dashboard and go to Posts or Pages. Select the content you want to edit, then open it in the block editor or classic editor depending on your setup.
In the block editor, look at the right sidebar and find the URL or Permalink area. Click the slug field, replace the current text, and save or update the post.
In the classic editor, the permalink usually appears under the title field. Click Edit beside the URL, enter the new slug, then click OK and update the content.
Recommended editing steps:
- Open the post or page
- Find the permalink or URL field
- Replace the old slug with the new slug
- Use lowercase letters
- Separate words with hyphens
- Update the post
- Test the new URL in a browser
Changing Page Slugs in WordPress
Page slugs work almost the same way as post slugs. You can edit them from the Pages section, then update the permalink field inside the editor.
Pages often sit inside site navigation, footer menus, and internal links. After changing a page slug, check menus and important links to confirm visitors still reach the correct destination.
If your page has a parent page, the full URL may include both parent and child slugs. Make sure the full structure remains clear and does not become too long.
Changing Post Slugs in WordPress
Post slugs are common in blog content and tutorials. If you publish evergreen content, a short keyword-focused slug usually performs better than a long title-based slug.
For example, a post title may include extra words for readers, but the slug can stay simple. A title can be persuasive while the slug remains clean and descriptive.
When updating an old blog post slug, review internal links from related posts. You can also read our WordPress SEO checklist at /wordpress-seo-checklist for a broader optimization workflow.
Changing Category and Tag Slugs
WordPress also lets you change category and tag slugs. Go to Posts, then Categories or Tags, choose the item, and edit the slug field.
Category slugs often appear in archive URLs. If your blog categories rank in search or receive traffic, treat these changes with the same care as post URL changes.
Avoid changing category slugs only for cosmetic reasons. A category URL may connect many posts, breadcrumbs, archive pages, and internal links across your site.
Changing Slugs in WooCommerce Products
WooCommerce product slugs can be edited from the Products section. Open the product, find the permalink area, edit the slug, and update the product page.
Product URLs should be clear, stable, and aligned with product names. Avoid adding temporary terms like sale, discount, or year unless the product page truly depends on them.
Changing product slugs may affect paid ads, shopping feeds, affiliate links, and customer bookmarks. Test product links carefully after making updates.
Slug rules for WooCommerce:
- Keep product names clear
- Avoid stuffing keywords
- Do not include changing prices
- Keep brand terms accurate
- Redirect old product URLs
- Update internal product links
- Check cart and checkout flow
Best Practices for SEO-Friendly Slugs
An SEO-friendly slug should be short, readable, and closely related to the content. It should help people know what the page is about without needing extra context.
Use hyphens between words because they are easier for search engines and users to read. Avoid underscores, spaces, special characters, and unnecessary punctuation in WordPress URLs.
For the keyword how to change url slug in wordpress, a clean slug could be how-to-change-url-slug-in-wordpress. It is direct, readable, and aligned with search intent.
Words to Remove from Slugs
Many slugs become long because WordPress copies the full title. You can usually remove filler words while keeping the meaning clear and natural.
Words like “the,” “a,” “an,” “and,” or “with” may not be needed in every slug. However, do not remove words if the slug becomes awkward or unclear.
A shorter slug is not always better if it loses meaning. The goal is clarity, not extreme trimming.
Common removable words include:
- the
- a
- an
- and
- with
- for
- your
- best
- simple
- complete
Redirects After Changing a Slug
A redirect sends visitors from the old URL to the new URL. This is important when a published page has already been indexed, shared, or linked from other websites.
The best option for a permanent URL change is a 301 redirect. It tells browsers and search engines that the content has moved to a new address.
Some SEO plugins can create redirects automatically when you change a slug. Still, you should test the old URL manually to make sure it lands on the correct new page.
Using an SEO Plugin for Redirects
Plugins like Rank Math, Yoast SEO Premium, Redirection, and All in One SEO can help manage redirects. The exact feature depends on the plugin and version installed.
A redirect plugin is useful because it gives you a simple interface. You can add the old URL, add the new URL, choose 301, and save the rule.
Keep redirects organized and avoid creating chains. A chain happens when URL A redirects to URL B, then URL B redirects again to URL C.
Manual Redirects Through Hosting or htaccess
Some site owners prefer adding redirects through hosting tools or the .htaccess file. This method can be fast, but it requires careful editing.
If your website runs on Apache, .htaccess rules can handle redirects. If it runs on Nginx, redirects are usually managed inside server configuration or hosting control panels.
Manual redirects are better for advanced users or developers. A small syntax mistake can affect the website, so backups and testing are important.
Safe redirect checklist:
- Back up the site first
- Save the old URL
- Save the new URL
- Use a 301 redirect
- Test the old URL
- Check mobile and desktop
- Monitor errors after publishing
Updating Internal Links After Slug Changes
Internal links help search engines crawl your site and help readers move between related pages. After changing a slug, update internal links that point to the old URL.
A redirect can handle old links, but direct internal links are cleaner. They reduce unnecessary redirects and help your website feel faster and better maintained.
You can use a search plugin, SEO plugin, or database search tool to find old URLs. For related navigation work, see our guide at /wordpress-internal-linking-guide.
Checking Broken Links
Broken links create poor user experience and can waste crawl budget. After changing several slugs, run a broken link check across your website.
Tools like Screaming Frog, Ahrefs, Semrush, Sitebulb, and WordPress link checker plugins can help find broken URLs. Choose a tool that fits your site size and workflow.
Fix important broken links first, especially those in navigation, popular posts, product pages, and high-traffic landing pages. Then clean up lower-priority links across older content.
Google Search Console Checks
Google Search Console can show indexing status, crawl errors, impressions, and clicks. After changing a slug, inspect the new URL and request indexing if needed.
You may still see the old URL in reports for a while. That is normal because search data and indexing updates do not change instantly.
Watch for 404 errors, soft 404s, and unexpected redirects. If the redirect is correct and the new page is crawlable, search engines usually adjust over time.
Useful checks after a slug update:
- Inspect the new URL
- Test live URL status
- Submit the updated sitemap
- Review 404 reports
- Check page indexing
- Monitor impressions
- Compare traffic trends
When You Should Avoid Changing Slugs
Do not change a slug only because you want a slightly nicer URL. If the page already ranks well and the current slug is acceptable, the benefit may be small.
Avoid changing slugs during major campaigns unless the change is necessary. Ads, emails, social posts, and affiliate links may already point to the existing URL.
Also avoid changing many slugs at once without a tracking plan. Bulk URL changes can create redirect errors, reporting confusion, and temporary ranking movement.
Slug Changes for New Blog Posts
For new blog posts, set the slug before publishing. This is the easiest and safest time to make the URL clean, short, and keyword-friendly.
Review the title, search intent, and primary keyword before choosing the slug. The slug should match the main topic rather than every phrase included in the headline.
Once the post is published, try to keep the slug stable. Future updates should improve the content, not repeatedly change the URL.
Slug Changes for Old Blog Posts
Old posts need a more careful process because they may already have backlinks, social shares, and search visibility. Check traffic data before changing the URL.
If the old slug is messy, outdated, or misleading, a change can be worthwhile. A better slug may support clarity when combined with improved content and a correct redirect.
After updating the slug, monitor the page for several weeks. Look at rankings, clicks, index status, and any 404 reports from old links.
Common Mistakes to Avoid
One common mistake is changing the slug without setting a redirect. This can cause visitors and search engines to land on a 404 page.
Another mistake is making the new slug too long. A slug should not repeat the entire headline when a shorter version can explain the same topic.
Keyword stuffing is also a problem. Repeating the same phrase inside the URL does not improve quality and can make the page look unnatural.
Avoid these mistakes:
- Changing slugs too often
- Skipping redirects
- Using uppercase letters
- Adding dates without reason
- Stuffing keywords
- Using symbols
- Forgetting internal links
- Ignoring Search Console
Practical Slug Examples
A weak slug often includes extra words, dates, or unclear phrasing. For example, best-complete-guide-for-changing-your-wordpress-url-slug-in-2026 is longer than needed.
A better version would be change-wordpress-url-slug or how-to-change-url-slug-in-wordpress. Both are cleaner, easier to share, and easier to understand.
For service pages, keep slugs aligned with the service name. For blog posts, match the main topic and search intent without adding unnecessary promotional words.
Permalink Settings and Site Structure
WordPress permalink settings control the overall URL structure. You can find them under Settings, then Permalinks, inside the WordPress dashboard.
Common structures include post name, category plus post name, date-based URLs, and custom structures. For most blogs, the post name structure is clean and simple.
Changing the entire permalink structure affects many URLs, not just one slug. That type of change requires a full redirect plan and careful testing.
URL Slugs and Content Updates
Changing a slug is only one part of content improvement. You should also review the title, introduction, headings, internal links, images, and search intent.
If a post is outdated, update the information before or during the slug change. A clean URL will not help much if the content no longer satisfies readers.
When the content and slug both match the topic, the page becomes easier to navigate, share, and maintain. This is useful for long-term blog growth.
Team Workflow for Slug Changes
If multiple writers or editors work on the same site, create a simple slug policy. This keeps URLs consistent across posts, pages, products, and categories.
The policy should explain length, hyphen use, lowercase formatting, keyword use, and redirect rules. It should also define who approves slug changes after publishing.
A shared workflow prevents random URL edits. It also helps new team members publish content without creating technical SEO problems.
Suggested team workflow:
- Writer drafts the title
- Editor reviews the slug
- SEO lead checks keyword fit
- Developer handles complex redirects
- Content manager updates internal links
- QA checks old and new URLs
- Analytics owner monitors results
Conclusion
Changing a WordPress slug is easy, but the right process matters. A good slug should be clear, short, readable, and connected to the page topic without looking forced.
For new content, edit the slug before publishing. For old content, check traffic, create a 301 redirect, update internal links, and review Google Search Console after the change.
The safest way to handle how to change url slug in wordpress is to combine clean editing with careful SEO checks. That keeps your URLs useful for both readers and search engines.
FAQ
Can I change a WordPress slug after publishing?
Yes, you can change a slug after publishing a post or page. If the old URL has traffic or backlinks, add a 301 redirect so visitors and search engines reach the new URL correctly.
Will changing a slug hurt SEO?
It can hurt SEO if you skip redirects or create broken links. When you use a proper 301 redirect, update internal links, and keep the content relevant, the risk becomes much lower.
What is the best slug format?
The best slug format is short, lowercase, and readable. Use hyphens between words, include the main topic naturally, and avoid symbols, random numbers, or unnecessary date-based words.
Should I include keywords in slugs?
Yes, include the main keyword when it fits naturally. Do not repeat the keyword or make the slug awkward. A clear and useful URL is better than a stuffed one.
How do I find old URLs after changing slugs?
You can find old URLs through Google Search Console, analytics tools, SEO crawlers, redirect plugins, or your sitemap history. Check important pages first, then update links and redirects where needed.